gvSIG Projects
Introduction
In gvSIG all the activities are located in one project. This project is made up of different documents. There are three types of documents in gvSIG: views, tables and maps.
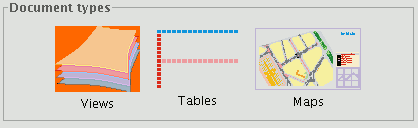
Views: Views are the documents in which we work with graphic data.
Tables: Tables are the documents in which we work with alphanumeric data.
Maps: A map generator which allows the different cartographic elements included in a map (view, legend, scale…) to be inserted.
Projects are files with a “.gvp” extension. These files do not include spatial data and associated attributes in the shape of tables. Instead they save references to the places the data sources are stored (the path to be followed in the disk in order to find the files). If the data changes the updates will be shown in all the projects they are used in. The menu which allows you to access the project management options is located in the “File” menu
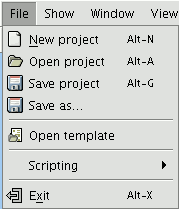
And in the following toolbar buttons (“New project”, “Open project” and “Save project”).

Saving a project
- Click on “File” in the menu bar and then on “Save project”. Alternatively, press the “Alt+G” key combination, or the “Save” button in the toolbar.

- When the file manager window is opened you can name the project and choose where to save it.
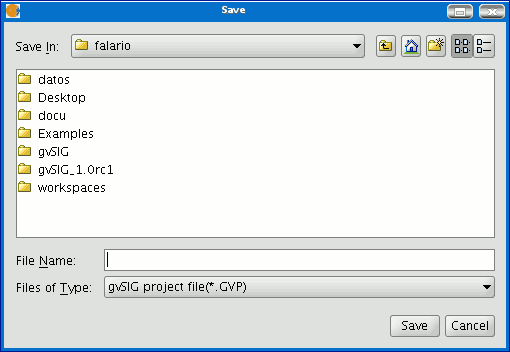
- The project is saved in a file with a “.gvp” extension.
New project
- Click on “File” in the menu bar and then on “New project”. Alternatively, press the “Alt+N” key combination or the “New” button in the toolbar.

- If you are already working on a project, the following message will appear when the button is pressed.
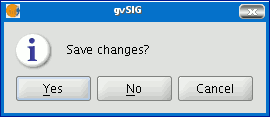
If you press “Yes”, a window will open so you can save your current gvSIG project. When the previous project has been saved a new blank project will appear on the screen.
Open a project
Opening an existing project
- If you wish to open an existing project to see or modify it, go to the “File” menu and click on “Open project”. Alternatively, press the “Alt+A” key combination or the “Open project” button in the toolbar.

- When the project manager window is open, look for the “.gvp” file which contains the project you wish to open.

Capas que han cambiado de ruta
Once a new project has been created in gvSIG, the layers that we are going to work with are added to the project.
Take the following project as an example, which contains layers for the provinces of South Africa.
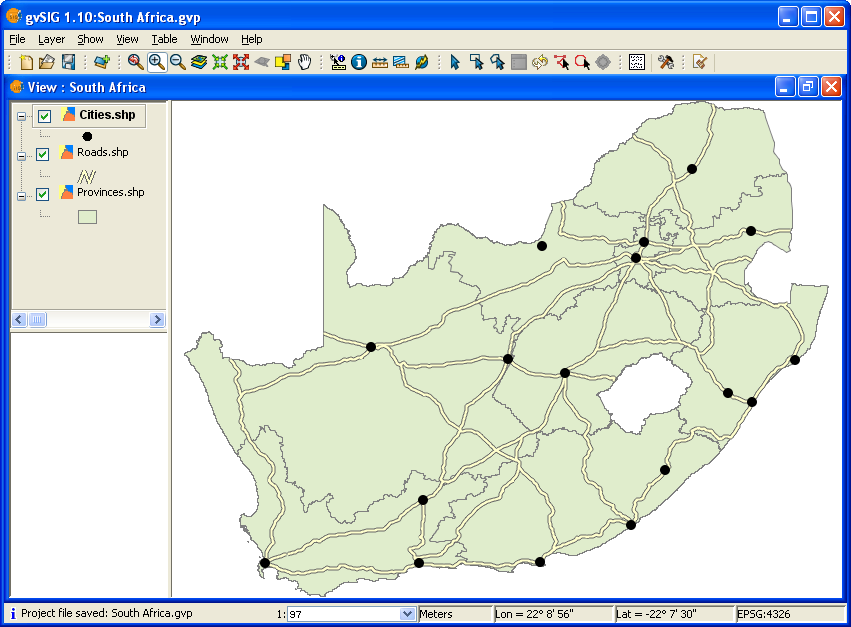
View showing layers in an existing project.
As you can see, three layers have been added to the View, namely Provinces, Roads and Cities. Close the project, remembering to save any changes. Now change the path to one or more of the layers in the project either by renaming the directory or by moving the layer(s) to another directory.
Reopen the gvSIG project and you will see the following window displayed:
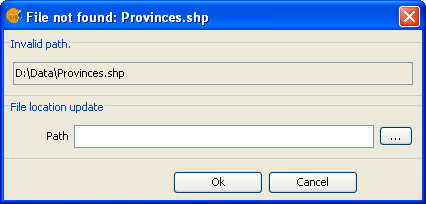
Existing Project window.
When the project is opened, gvSIG will prompt the user to locate layers for which the path has changed and to provide a new path. Once the new path has been provided gvSIG can load the layer and you can resume working on the project.
Saving and Closing a project
When you decide to finish a session in gvSIG, a window such as the one shown below appears:
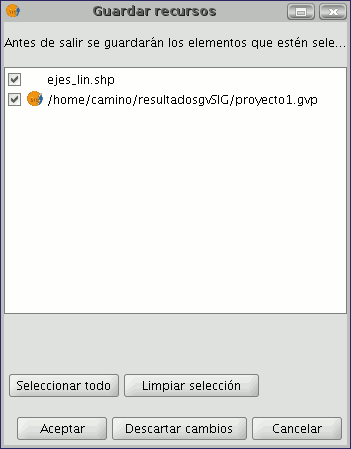
The text box shows both the name of the project currently in use as well as the layers and tables which were being edited before the decision to close the project was made. The “Select all” and “Clear selection” buttons allow you to enable or disable the check boxes in the text box which correspond to the project or to the layers being edited.
If you click on “Ok”, the changes made to the enabled elements in the text box will be saved.
If you click on “Discard changes”, none of the changes made in the project will be saved irrespective of whether they have been enabled or not.
The “Cancel” button allows you to exit the window.
Copying and pasting documents in gvSIG
Introduction
If you copy and paste a document, you should remember that if this document has any other documents associated with it these will also be copied (example: if a map is copied the views it includes will also be copied).
N.B. You can select several documents to be copied at the same time.
N.B. Remember that if you press “No” or “Cancel” in any of the dialogue boxes which appear during the process, none of the changes you have made in the process will be saved.
Copying/Pasting Views
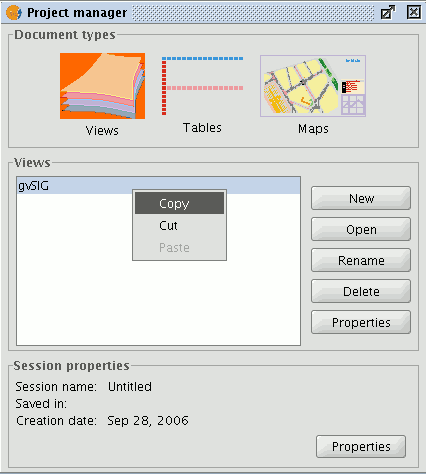
Select the view you wish to copy from the “gvSIG Project manager”, right click and select “Copy” from the contextual menu.
If you wish to copy the view to another gvSIG project, select “Paste” from the contextual menu. If a project already has a view with this name a message will appear to indicate that you must change the name of the view you are trying to paste.
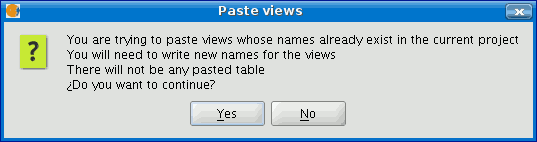
N.B. The message “No table will be pasted” means that the tables which are active in the source view will not appear in the target view unless they are activated in this view. If you wish to cancel the operation, press “No”. If you press “Yes” a new dialogue box will appear so the view can be given a new name.
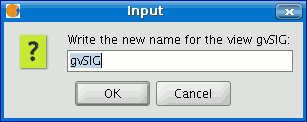
Write the new view name and press “OK”. This view will be added to the project. If you press “Cancel” the process will be terminated.
Copying/Pasting Tables
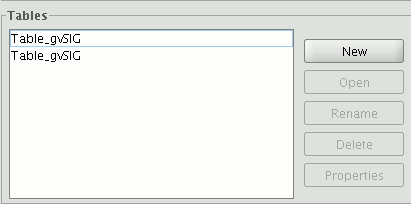
The procedure for copying/pasting tables is similar to the procedure described above. However, in this case tables with the same name can exist in a project.
Copying/Pasting Maps
The procedure for copying and pasting maps is similar to the previous two cases. Select the map you wish to copy from the “Project Manager”, right click and select “Copy” from the contextual menu. If you wish to paste the map to a project which already has a map with the same name, the following message will appear.
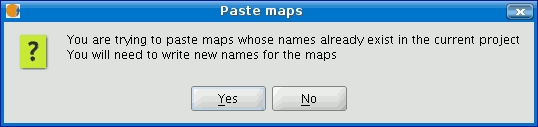
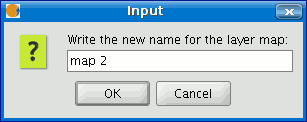
If you press “No”, the operation will be cancelled. If you press “Yes”, a new dialogue box will appear. Write the new name for the map in the box and press “OK”.
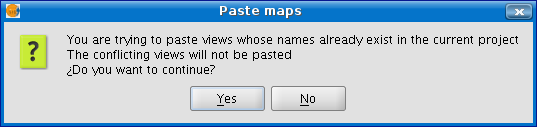
If you press “Cancel” the process will be terminated. If any of the views associated with the map already exist in the current project the following message will appear.

If you press “Yes”, a new map document will be created. If you press “No” the operation will be cancelled. N.B. The message “The conflicting views will not be pasted” indicates that the views the maps are associated with will not be added. Instead, the views which already exist in the current project with these names will be used (example: You have copied a map with an “A” view and a “B” view. When you try to paste the map into the project, you find that an “A” view already exists. The operation will add the “B” view and will leave the “A” view intact so that the map will use the pre-existing “A” view).
'Cutting' documents in gvSIG
Use the “Project manager” to select the document you wish to cut. Right click and select the “Cut” option from the contextual menu. The following window will appear.
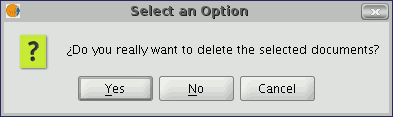
If you press “Yes” the selected document will be “cut” from your project.
